
After months of searching I came to the conclusion that I wasn't going to find what I needed. I started playing around with the idea making one of my own but got a little overwhelmed given my schedule. But....when packing up for my craft show this weekend I came across this diaper bag that I made several years ago....


I spent about an hour transforming this bag into a well-padded protective case for my gear. While this isn't an official tutorial (I just didn't have the time to set up and plan for a full out tute), I threw together some guidelines on how I did this. See my how-to after the jump!
The first thing I did was pick up a roll of 1/2" foam at Jo-Anns (which I got on sale and used a 40% coupon for - SCORE!)

I cut a piece the size of the bottom of the bag, opened up the seam and placed it inside.
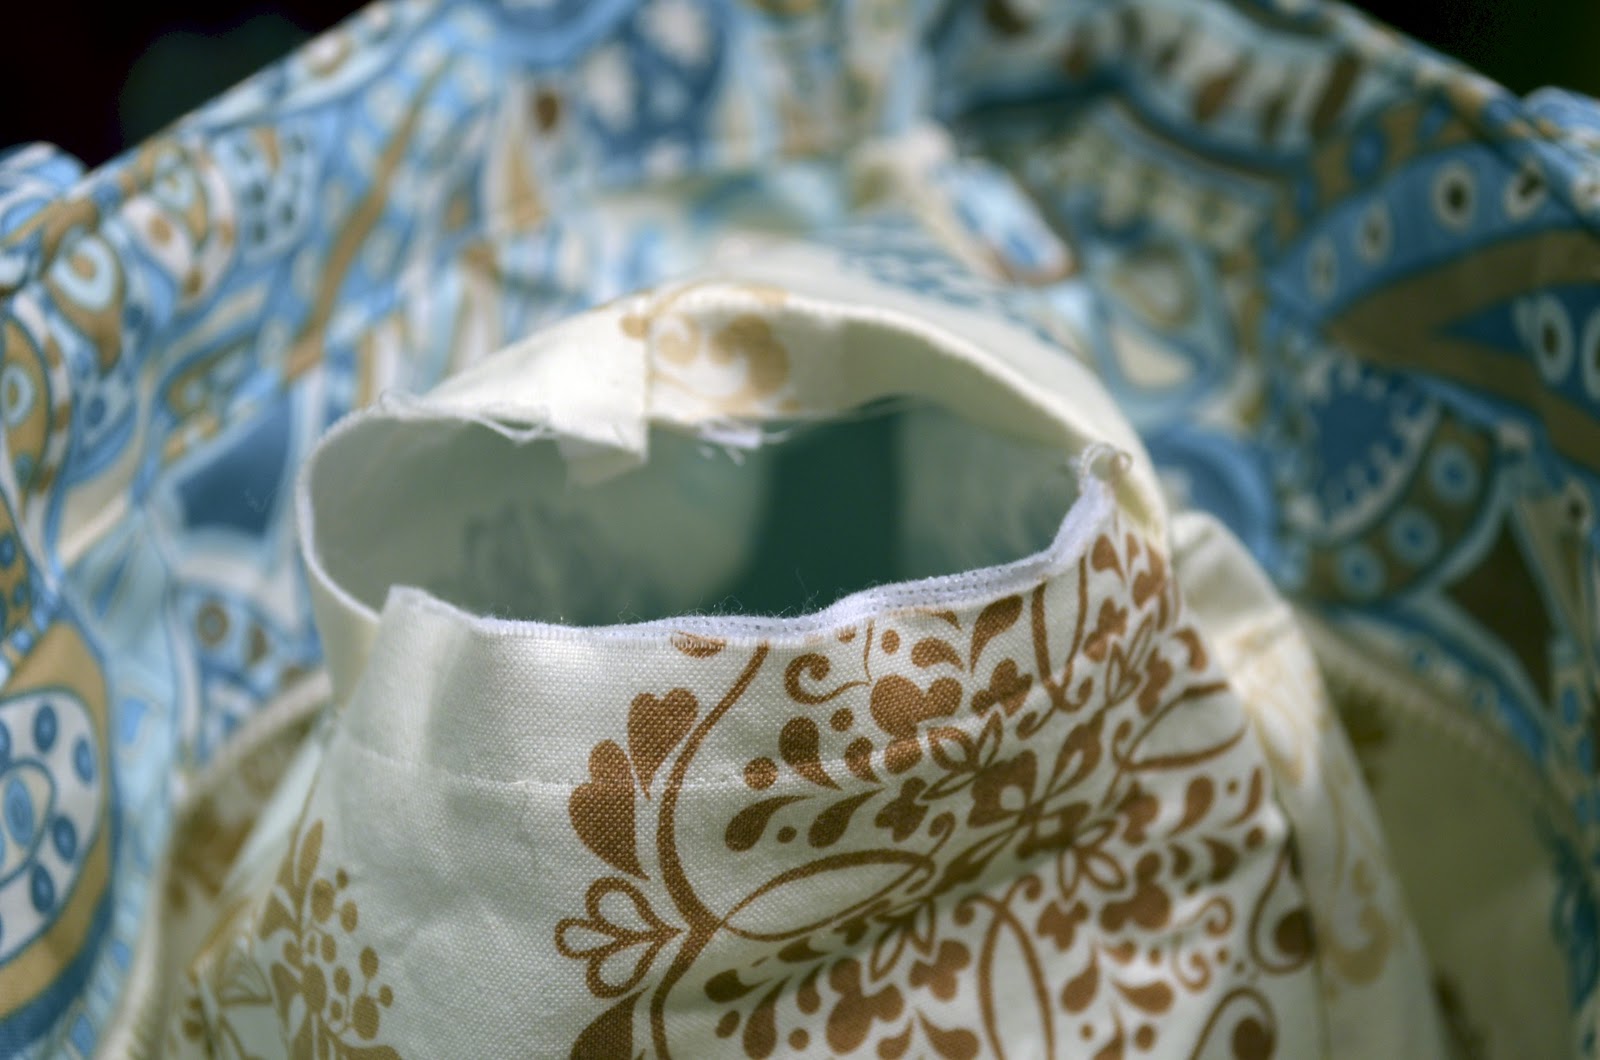
The rough surface of the buckram held it in place, so there was no need for using the spray adhesive which I had planned on doing.

I used an invisible stitch to close up the seam again.....Now the bottom of the bag has a nice bit of padding as a base!

I measured my bag (bottom width and length, side width and length) and mapped it on a piece of paper for some visual planning.

I cut 3 rectangles of foam exactly the size I measured (7" x 15" each) For the fabric, I added 2" to the total size.

I then cut my fabric - 2 pieces of 23"(7+7+7+2) x 17"(15"+2). The extra 2" accounts for seam allowance and the foam thickness. I then cut 4 pieces of Velcro (female only) each 15" long and sewed them across the width of the right side of one of the fabric pieces (the interior). I placed them about 3" from the edge and 3" apart.

I then placed the other piece of fabric on top of this (right sides together) and sewed around the perimeter leaving a nice size opening to insert the foam pieces.

First the side pieces...

Then I marked a line where those side pieces ended
 And stitched them in....
 Then I added the center piece of foam
 I closed the opening and put this inside my bag...
 A PERFECT, snug fit.
Now, I could've spent the time making the little inserts (and I still may when I have a bit more time), but I was able to use the ones from my other camera case, along with a little pad (the green thing) I had made a while ago that I use to pad the camera when toting it around in my regular pocketbook.
 This bag fits everything AND has room to spare. The best part is all the extra pockets I have to store my wires, batteries, memory cards, etc.
Total cost: $12.00 plus 1 hour time.
Unbeatable!


Now, I could've spent the time making the little inserts (and I still may when I have a bit more time), but I was able to use the ones from my other camera case, along with a little pad (the green thing) I had made a while ago that I use to pad the camera when toting it around in my regular pocketbook.

Total cost: $12.00 plus 1 hour time.
Unbeatable!

No comments:
Post a Comment
I would love to hear from you!